/ Note
Bring Your Home Network Anywhere For Free - Home VPN with WireGuard on Raspberry Pi + Pi-hole (Ubuntu Server 20.04 LTS)
In the previous post on installing Pi-hole on a Raspberry Pi, I talked about setting up Ubuntu Server 20.04 LTS and Pi-hole DNS on Raspberry Pi. You can go through the process step by step following Block Ads, Tracking, and Telemetry With Pi-hole on Raspberry Pi (Ubuntu Server 20.04 LTS).
Having Pi-hole set up on our home network, we will have a much better internet browsing experience without ads and better control of available resources (if any). Also, maybe you have a network-attached storage (NAS) in your network and would want to have access from anywhere, or you just want a safe browsing experience when connected to public WiFis.
The setup above is limited only to your home network, and after a couple of days of browsing, you will think - why can't I bring this network setup wherever we go!? Well, YOU CAN. A logical presumption would be to have a way to connect to our home network from anywhere and browse through it. Even when you connect from the other side of the world.
Virtual Private Network
Virtual Private Network (VPN) allows us to connect our devices to another network over the internet in a secure manner. We can browse the internet using other computers' (server) internet connection.
I am sure you came across internet ads for paid services like ExpressVPN, NordVPN, Surfshark, etc. They are awesome without a doubt, you can fake your device's IP location and use some geographically limited services like Netflix, but it won't get you to your home network. And you have to pay for it. All VPNs use VPN protocols to create and secure your connection, so why shouldn't you, for your needs?
WireGuard or OpenVPN
Two most popular VPN protocols used today are WireGuard and OpenVPN. There is no specific reason why I choose one over the other, but it is said that WireGuard is much faster than OpenVPN and it consumes around 15% less data, handles network changes better and appears to be just as secure (I don't know who said it).
WireGuard (or OpenVPN) on Raspberry Pi
We could go through the manual installation instructions for WireGuard, but there is a great tool, PiVPN which allows us to install the desired VPN very easily.
Log in to your Raspberry Pi directly or via Secure Shell (SSH), and run:
curl -L https://install.pivpn.io | bash
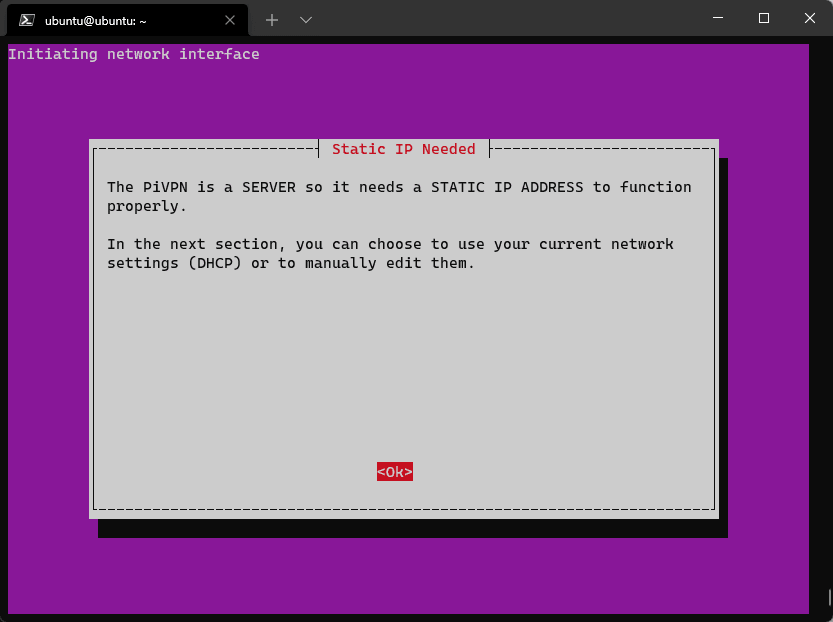
The process will use sudo and install the necessary dependencies. Just wait for it to do its job. After installing the necessary packages, you will be prompted with graphical options:
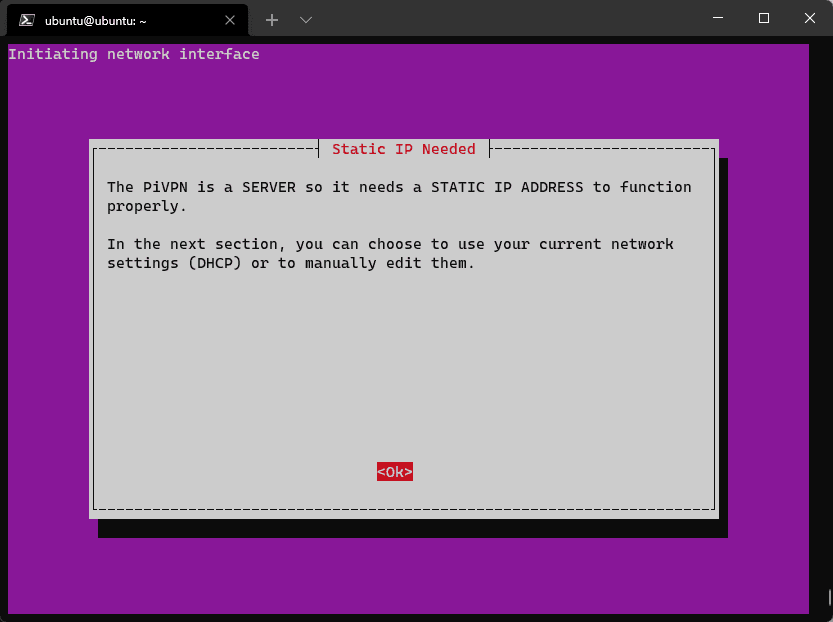
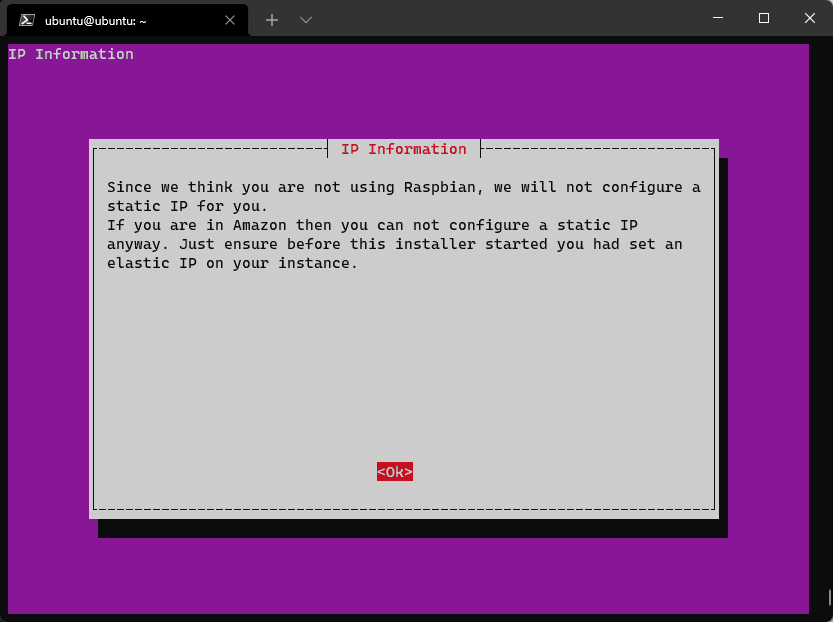
We previously talked about setting up a static IP address on Ubuntu Server 20.04. PiVPN won't configure static IP for us because we are not using Raspbian OS for our Raspberry Pi.
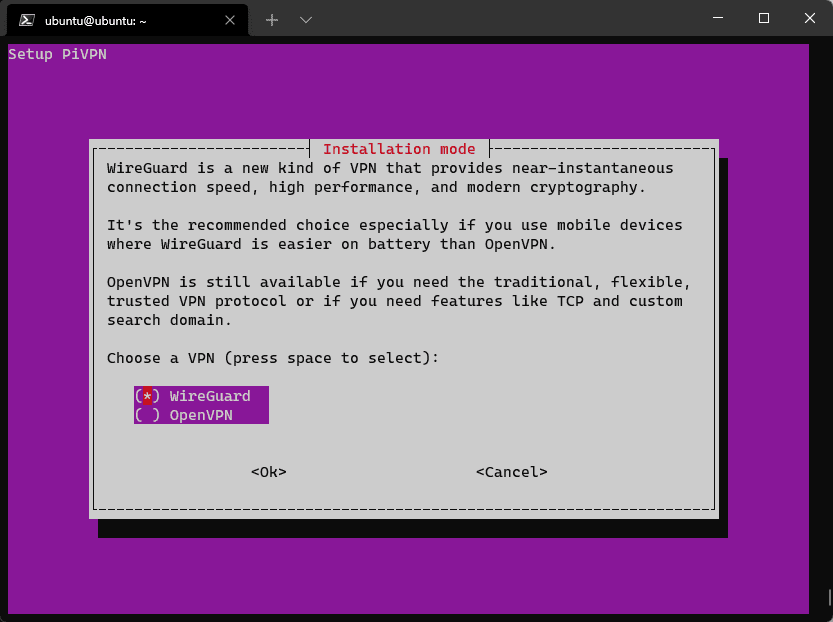
Just accept default options, and be sure to select the WireGuard option when prompted.
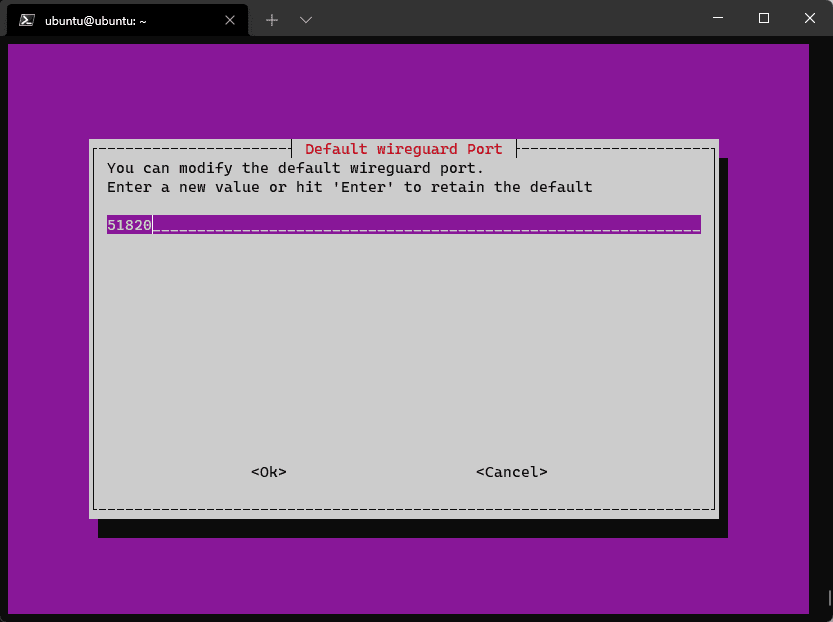
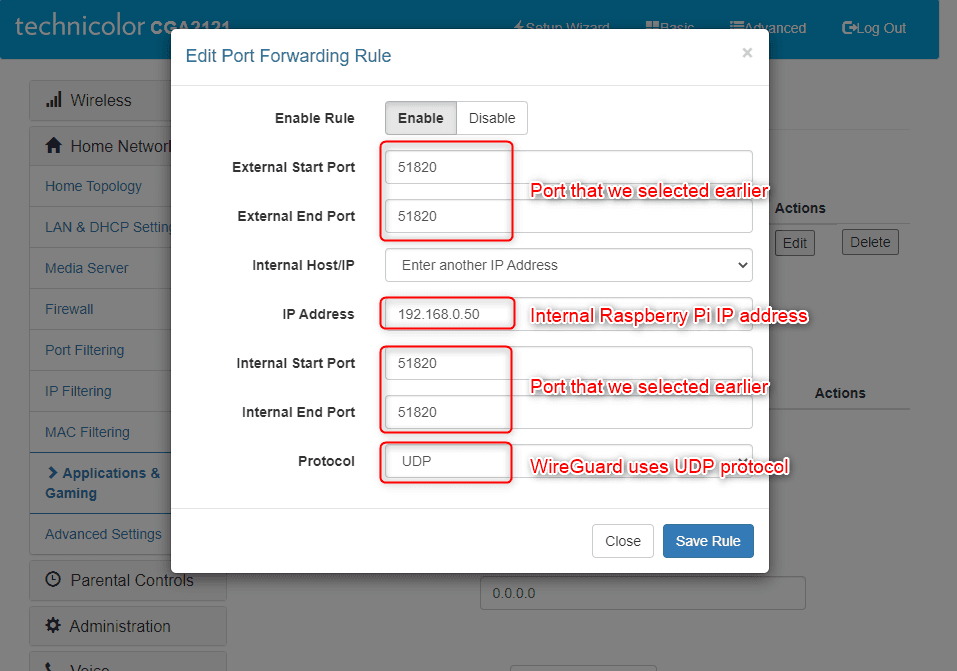
You can change the default WireGuard port if necessary but have in mind that you will need it later, so make sure you remember it (I will use the default option, port 51820)
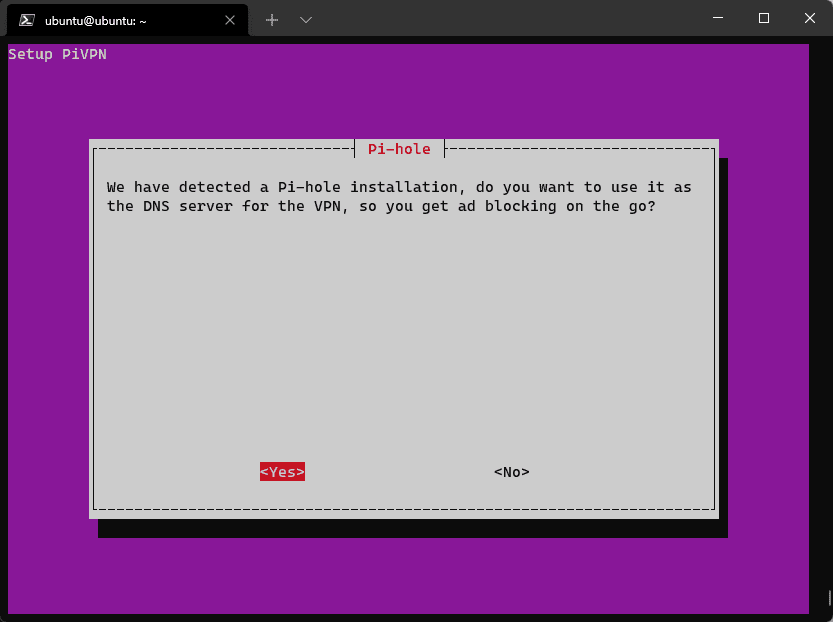
If you have a Pi-hole installation, PiVPN will detect it and ask if you want to use it as a DNS.
In the next steps, you will be prompted to use Public IP or DNS. Choose your public IP address.
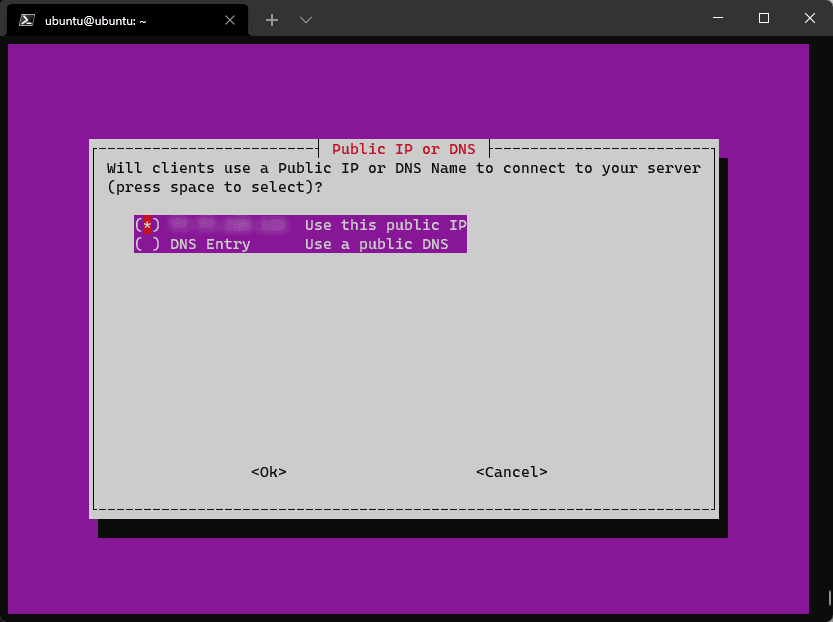
If your ISP provides you with a dynamic IP address, there is a solution in the next post. For now, continue with this article.
Continue with the process and accept unattended upgrades to the server.
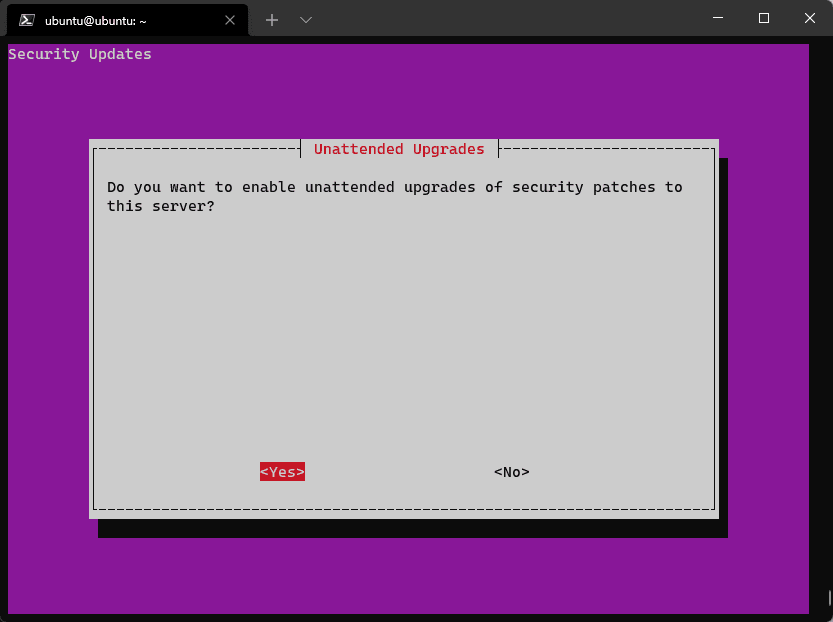
Just follow the process and accept to reboot Raspberry Pi after the installation, so everything is set up.
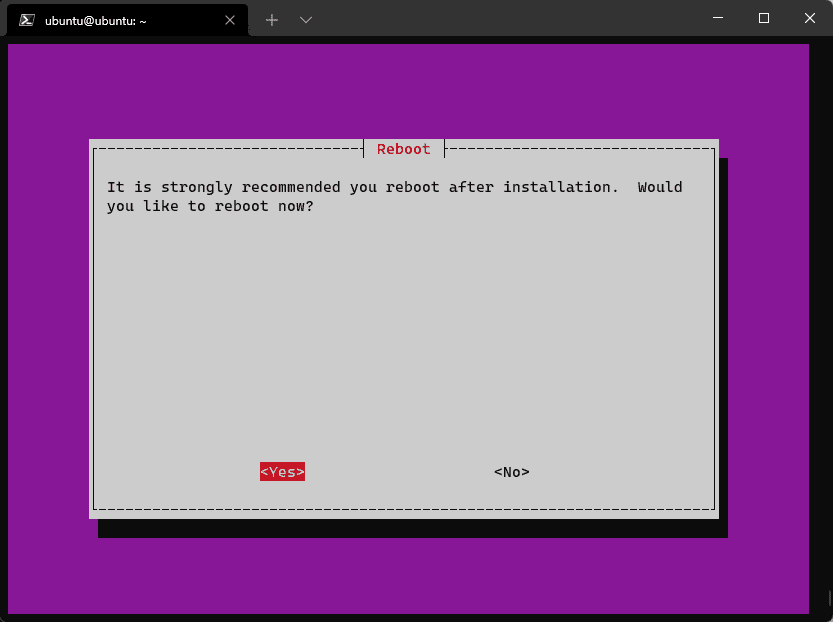
If you use Pi-hole as a DHCP server, you won't have an internet connection while Raspberry Pi is rebooting.
Port Forwarding
To be able to connect to your Raspberry Pi VPN server, we need to set up a port forwarding option on your router. I have Technicolor CGA2121, but you can find that on every router, under settings (or advanced settings, usually under the Application & Gaming option).
Adding VPN Client
To add a new VPN client user, use the integrated PiVPN command:
pivpn add
Choose your client name and hit ENTER.
You may have a warning to Run 'systemctl daemon-reload' to reload units, so just do it.
Now your client is ready to connect. You can find installation files for different operating systems on the WireGuard installation page.
For Android and iOS devices, there is a WireGuard application on PlayStore/AppStore, so download it. To quickly set up WireGuard VPN, from your Raspberry Pi run:
pivpn -qr
You will have a QR code on the screen which you can read from your mobile phone to set it up.

Now when you leave your home network, you are always a flip of the switch away from it.
Pi-hole DNS Troubleshooting
If you installed PiVPN before Pi-hole, edit the PiVPN configuration with:
$ sudo nano /etc/pivpn/wireguard/setupVars.conf
- Remove the
pivpnDNS1=[...]andpivpnDNS2=[...]lines - Add this line
pivpnDNS1=192.168.0.50(your Pi-hole IP might be different) to point clients to the Pi-hole IP - Save the file with
Ctrl+X, Yand exit - Run
pihole -a -i localto tell Pi-hole to listen on all interfaces
Dynamic IP Address
If you are lucky enough or you are not sorry to pay for the static IP address, you can skip this part. Otherwise, here is how to
Final Words
I hope this tutorial will help you set up your VPN communication and bring even more privacy, security, and comfort while browsing the internet.
Written by Amel Spahić. Questions and corrections to [email protected], both equally welcome.